I had decided to build a pole barn (or shed, or garage) to protect the John Deere Gator and my other forestry supplies.
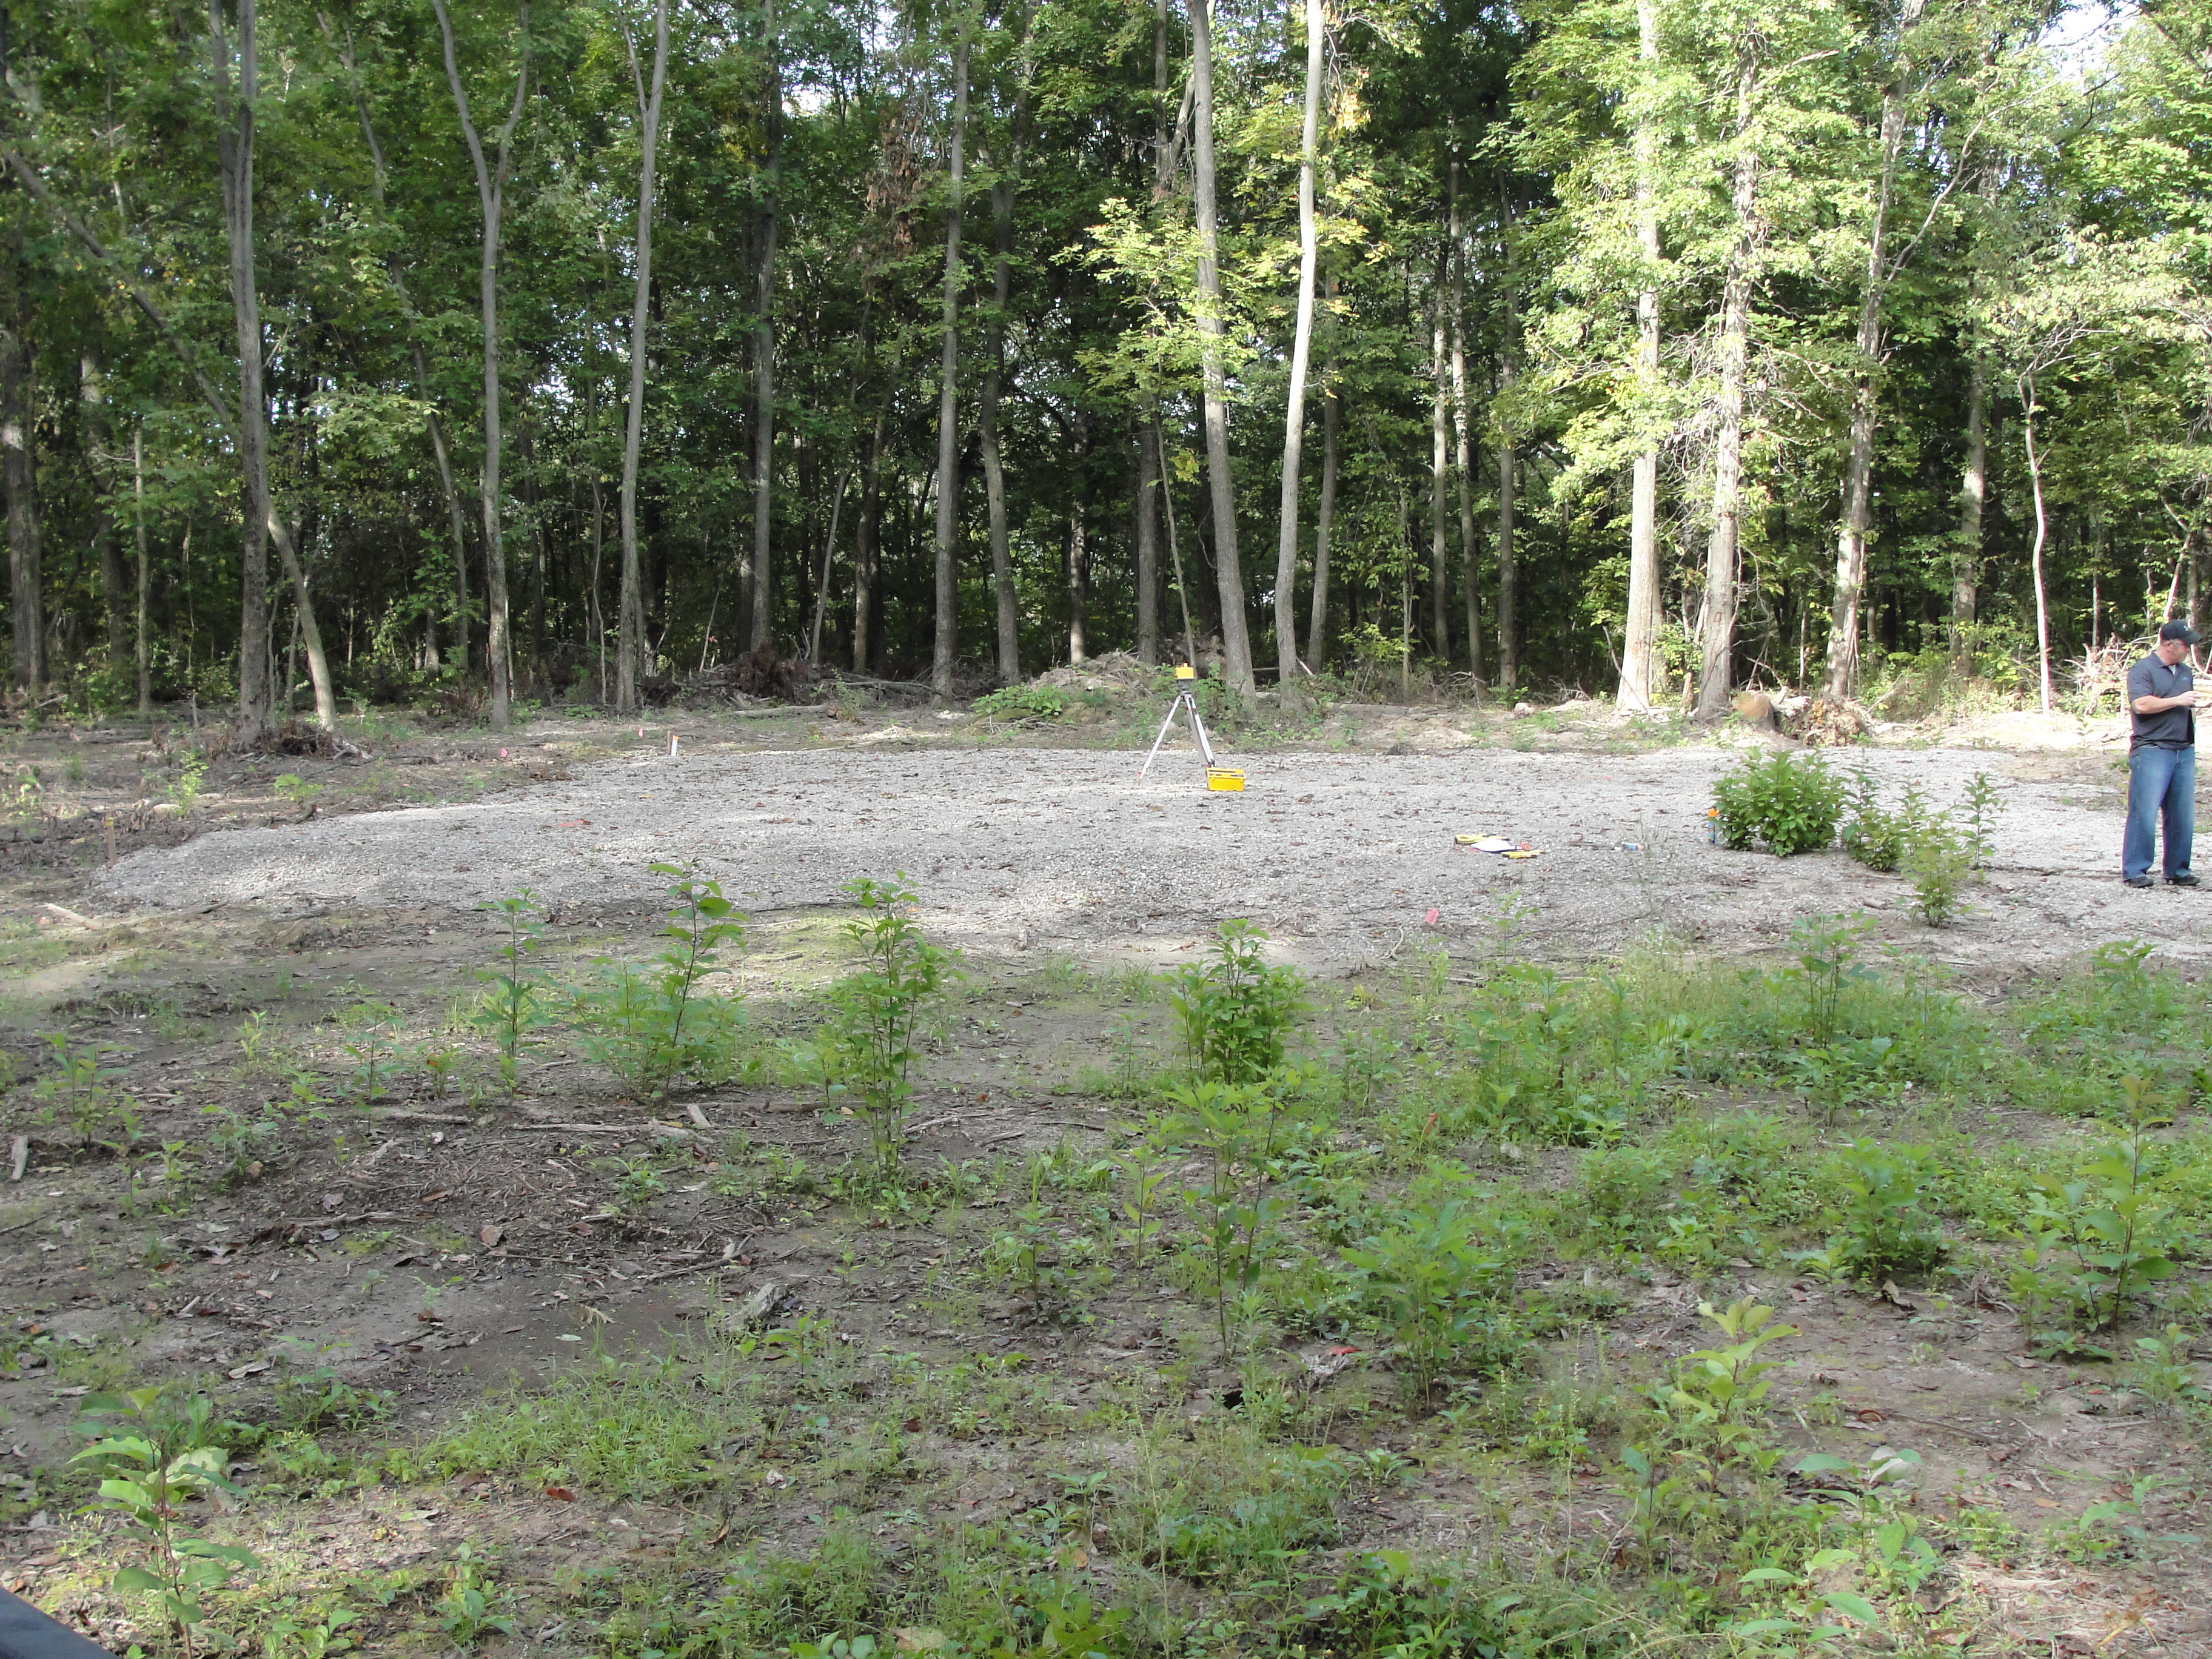
The crew used a laser to make sure the construction pad was level, or nearly level.
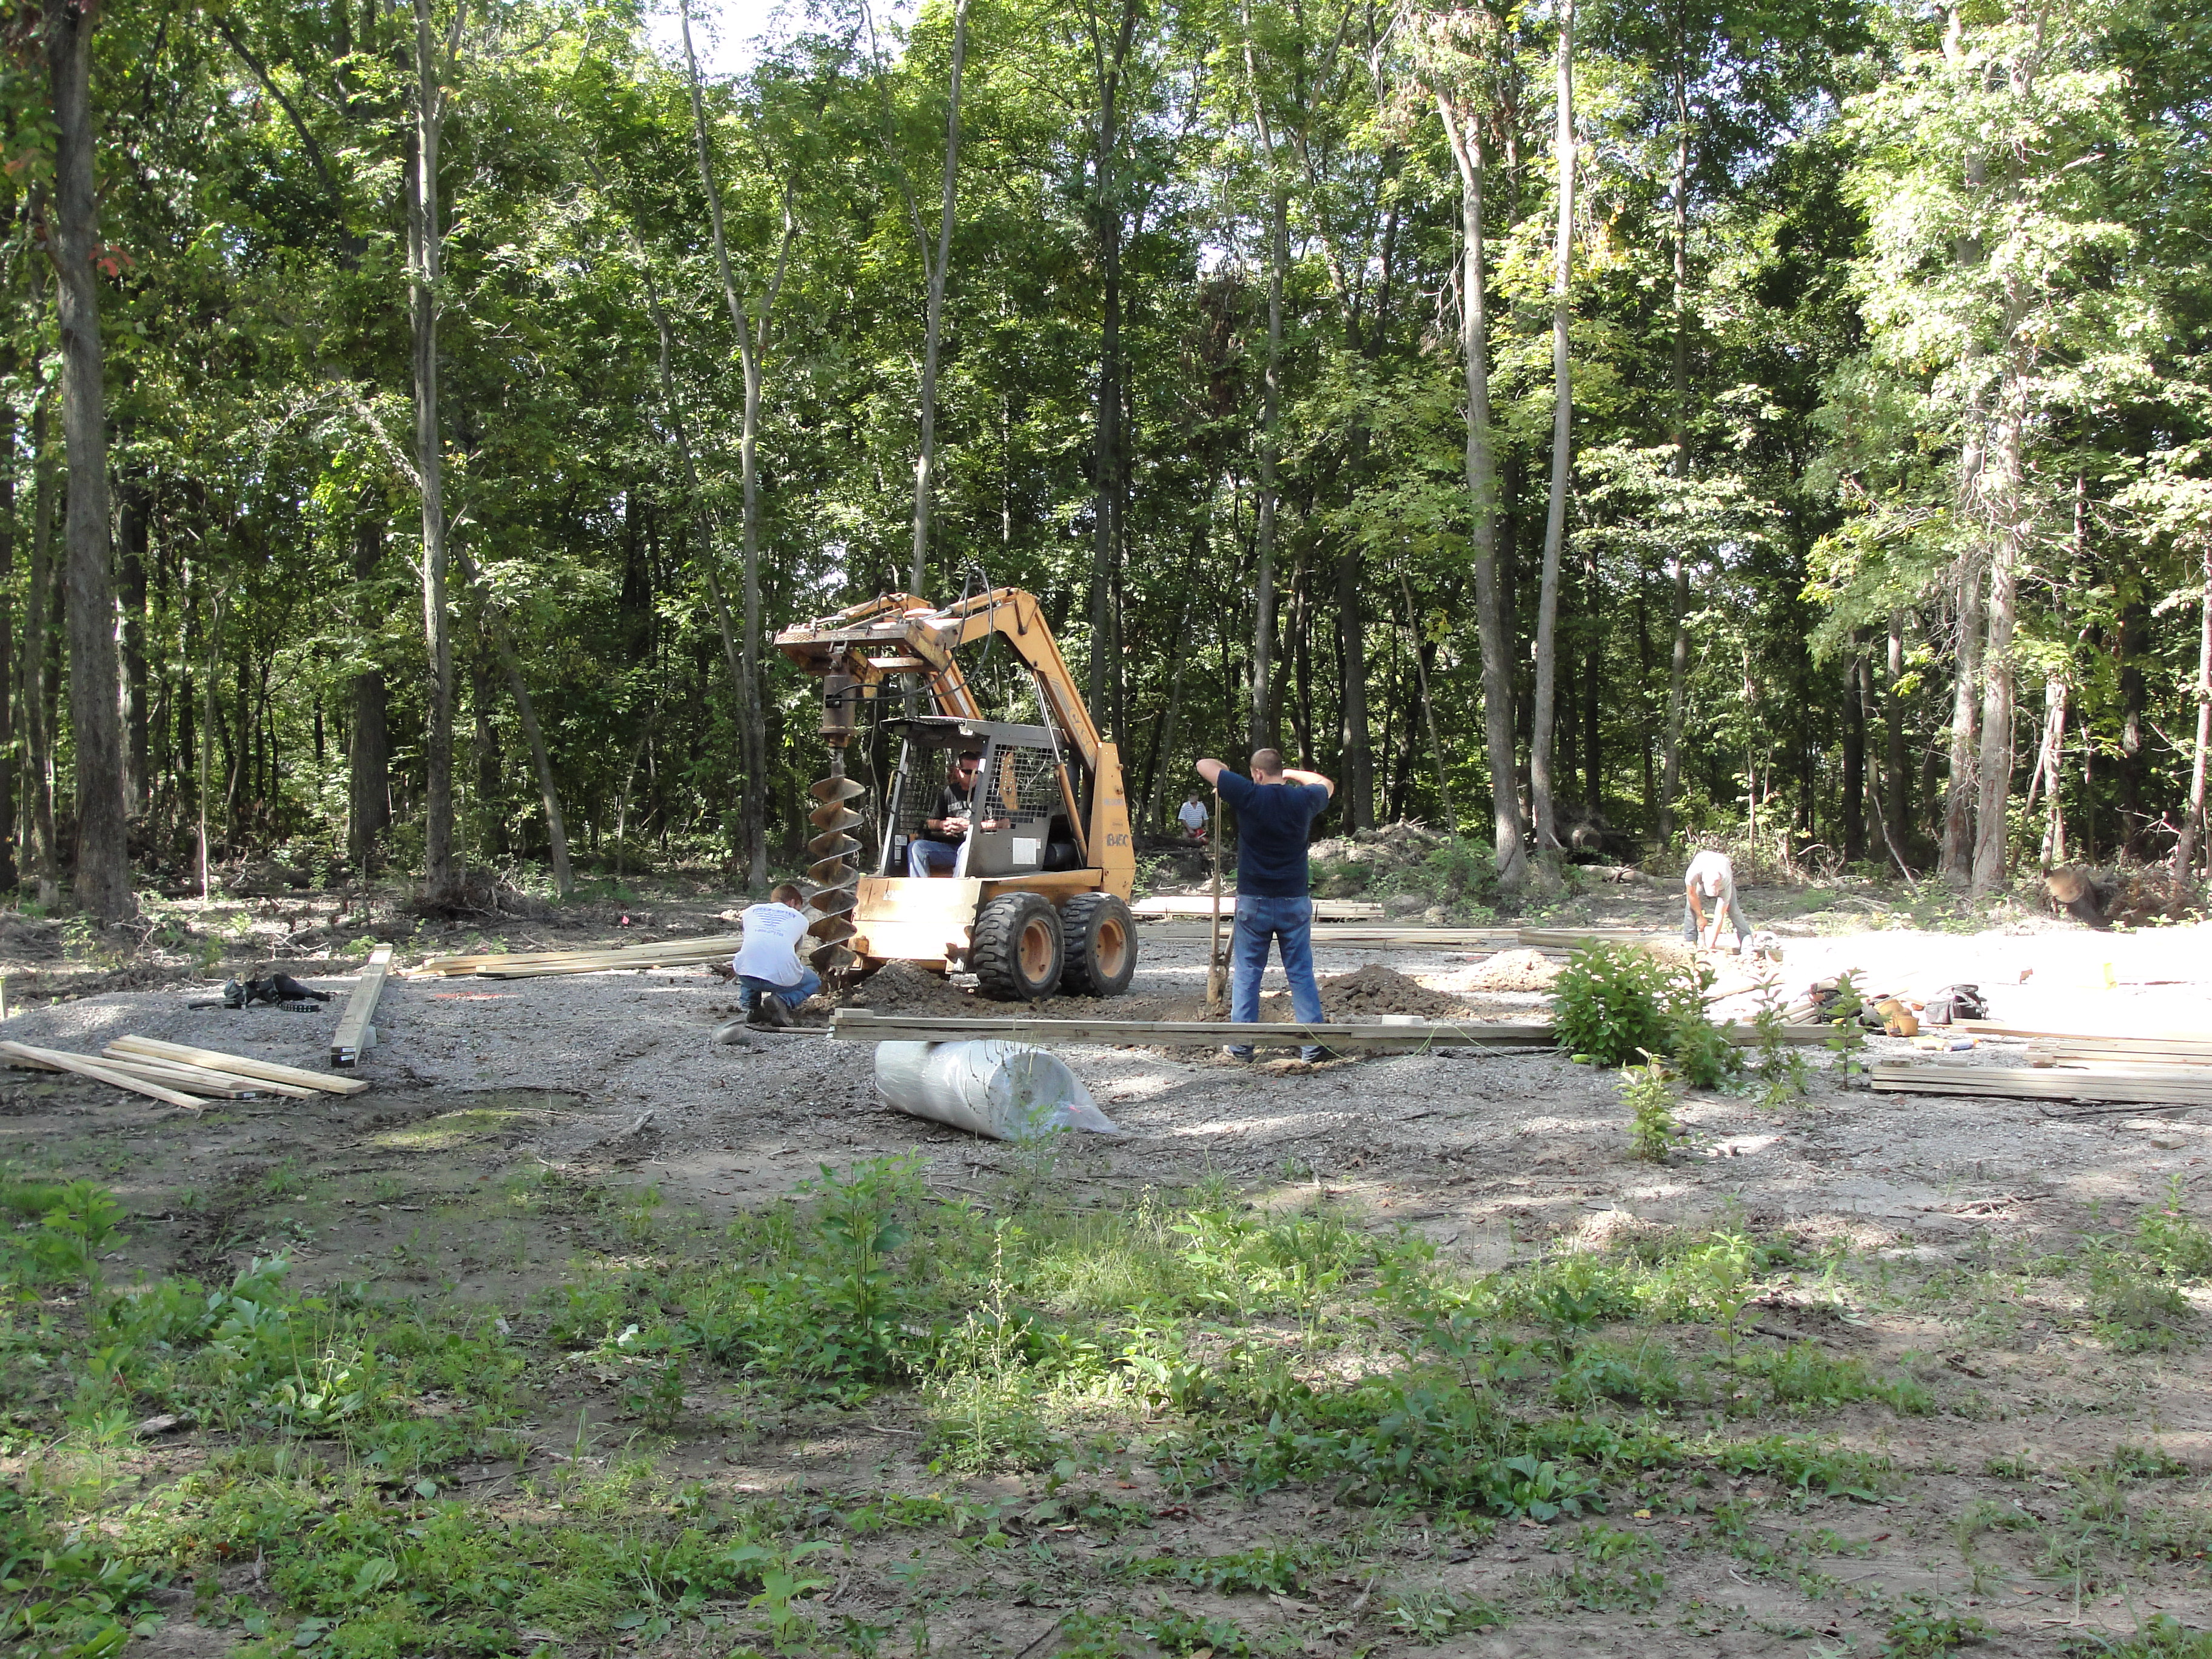
Then, the serious construction began.
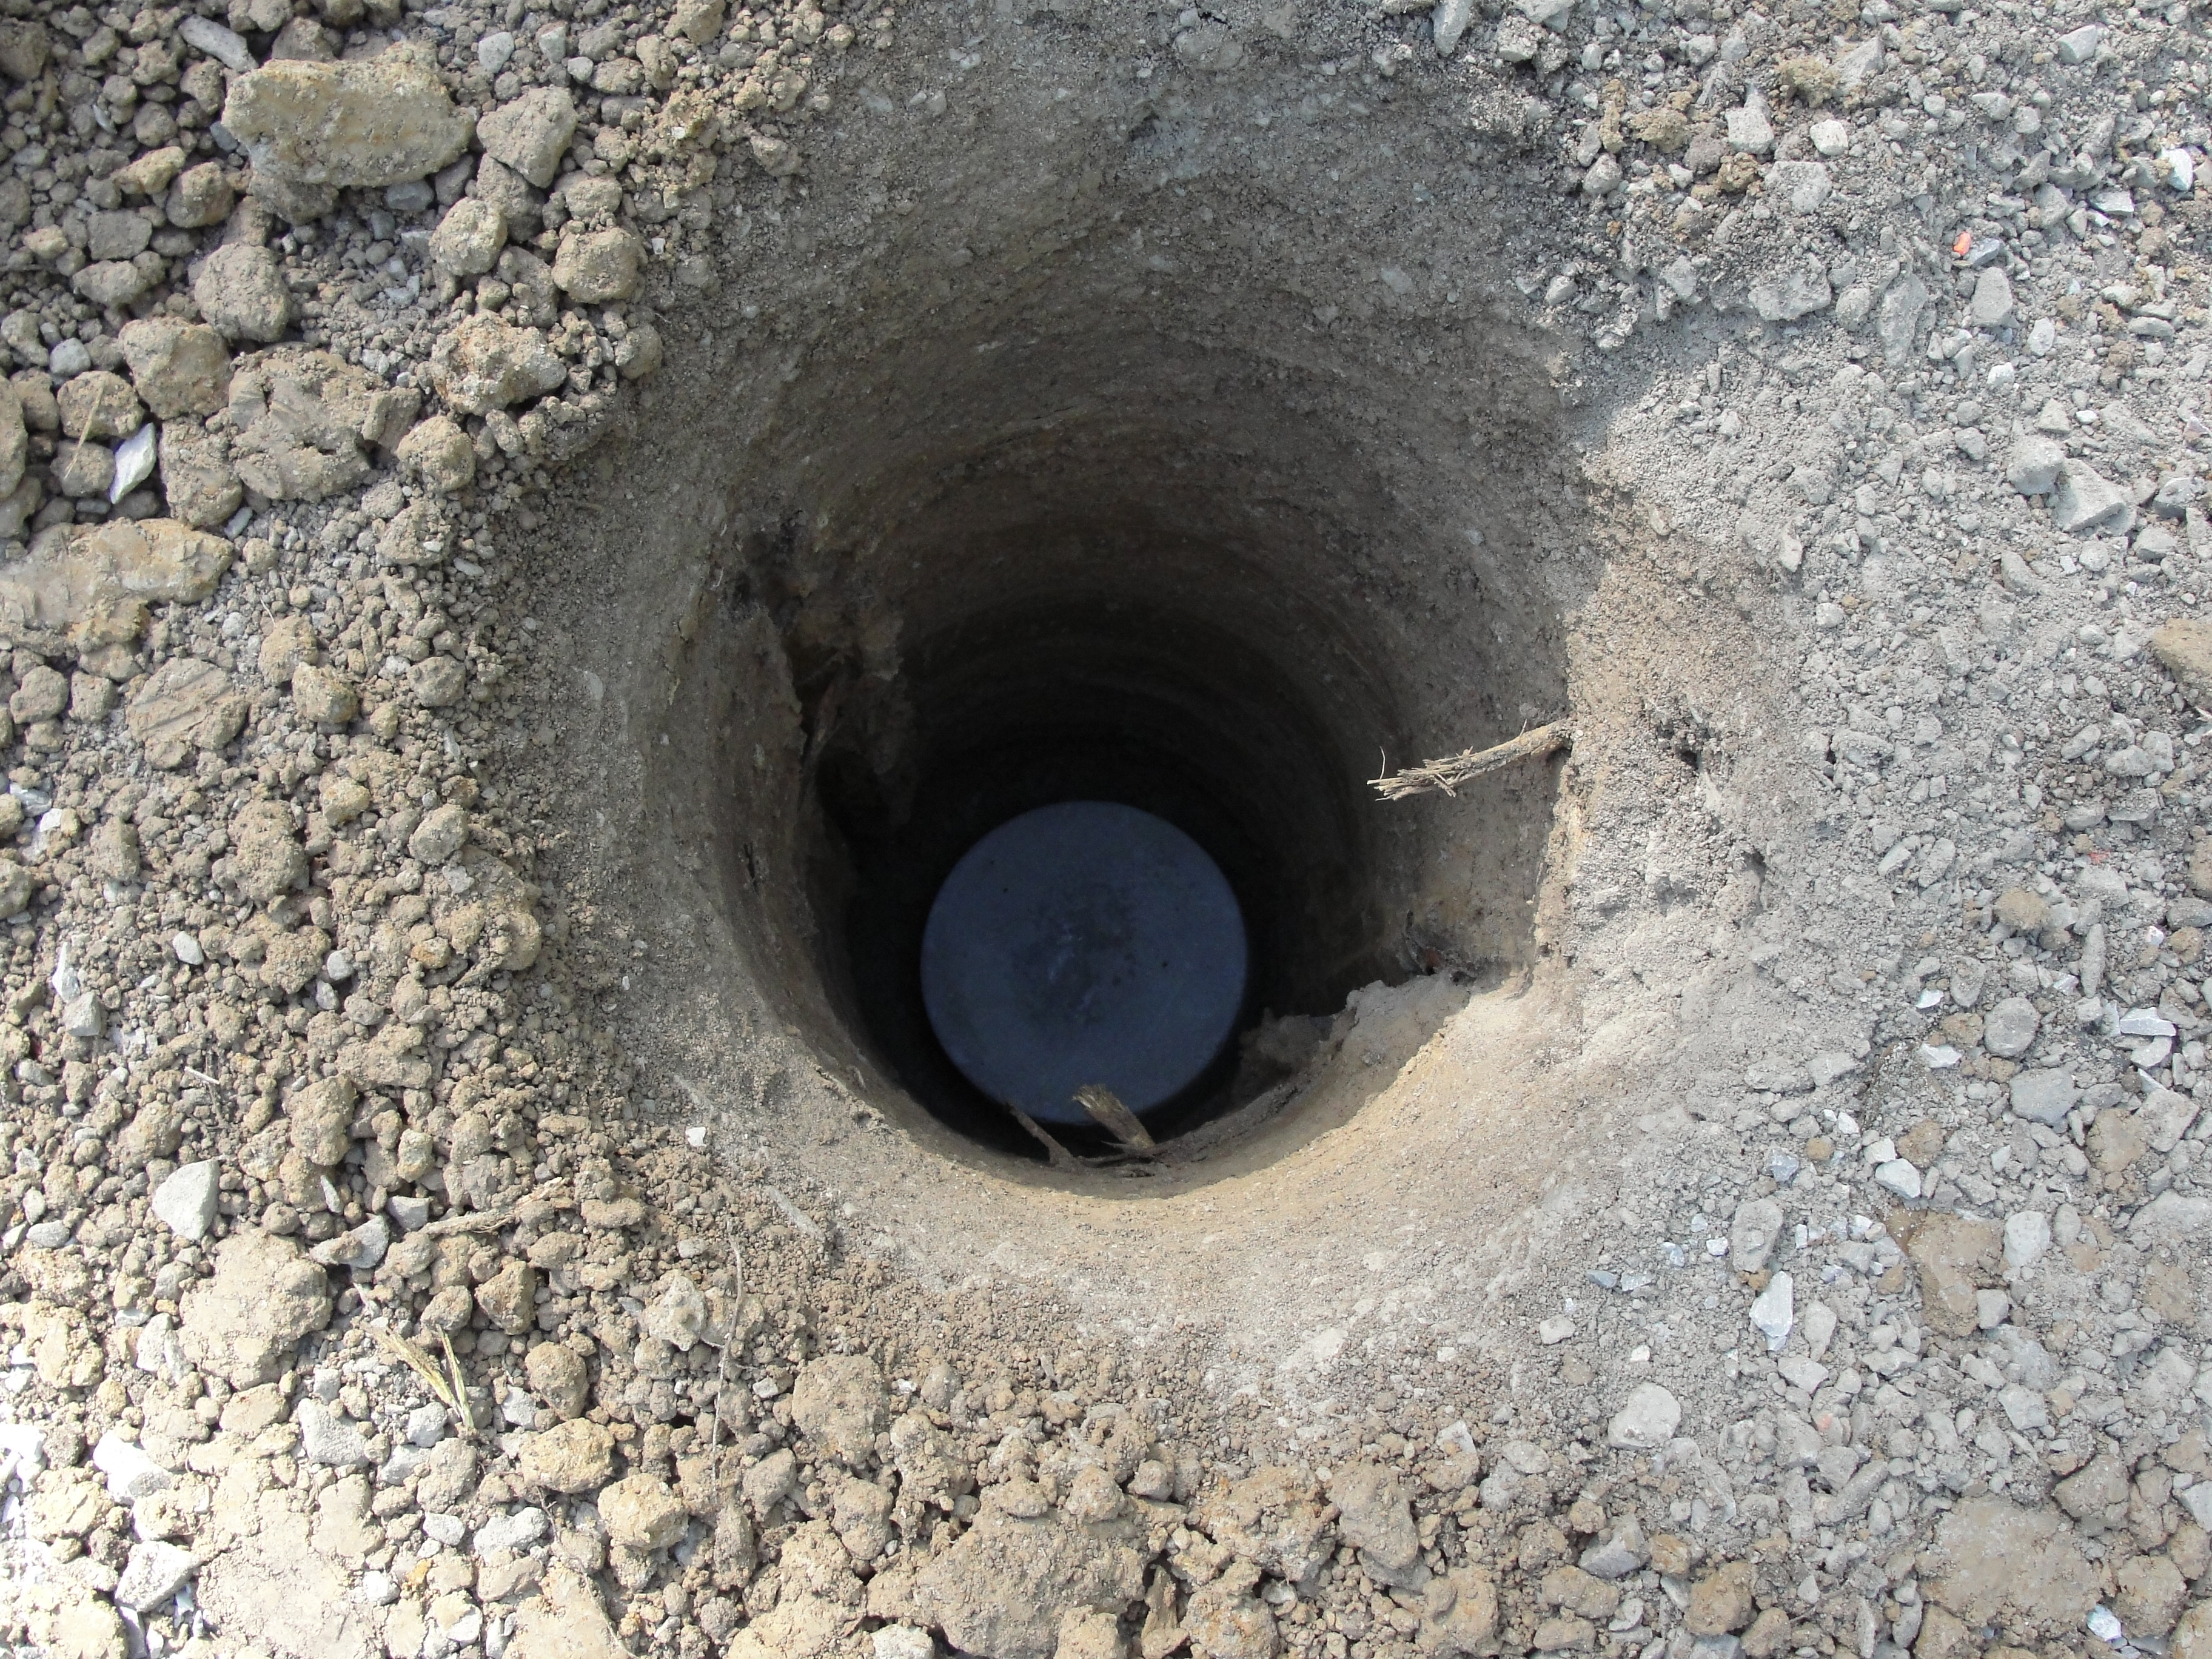
Power augers dug round holes around the perimeter of the shed’s location. Each was about a foot in diameter and 4 feet in depth.
At the bottom of each hole, they placed a concrete “cookie” to support the “pole” which would later be inserted. This is fast and relatively inexpensive, but the alternative would be to build a foundation out of poured concrete to below the frost line. I decided to go with the cookies.
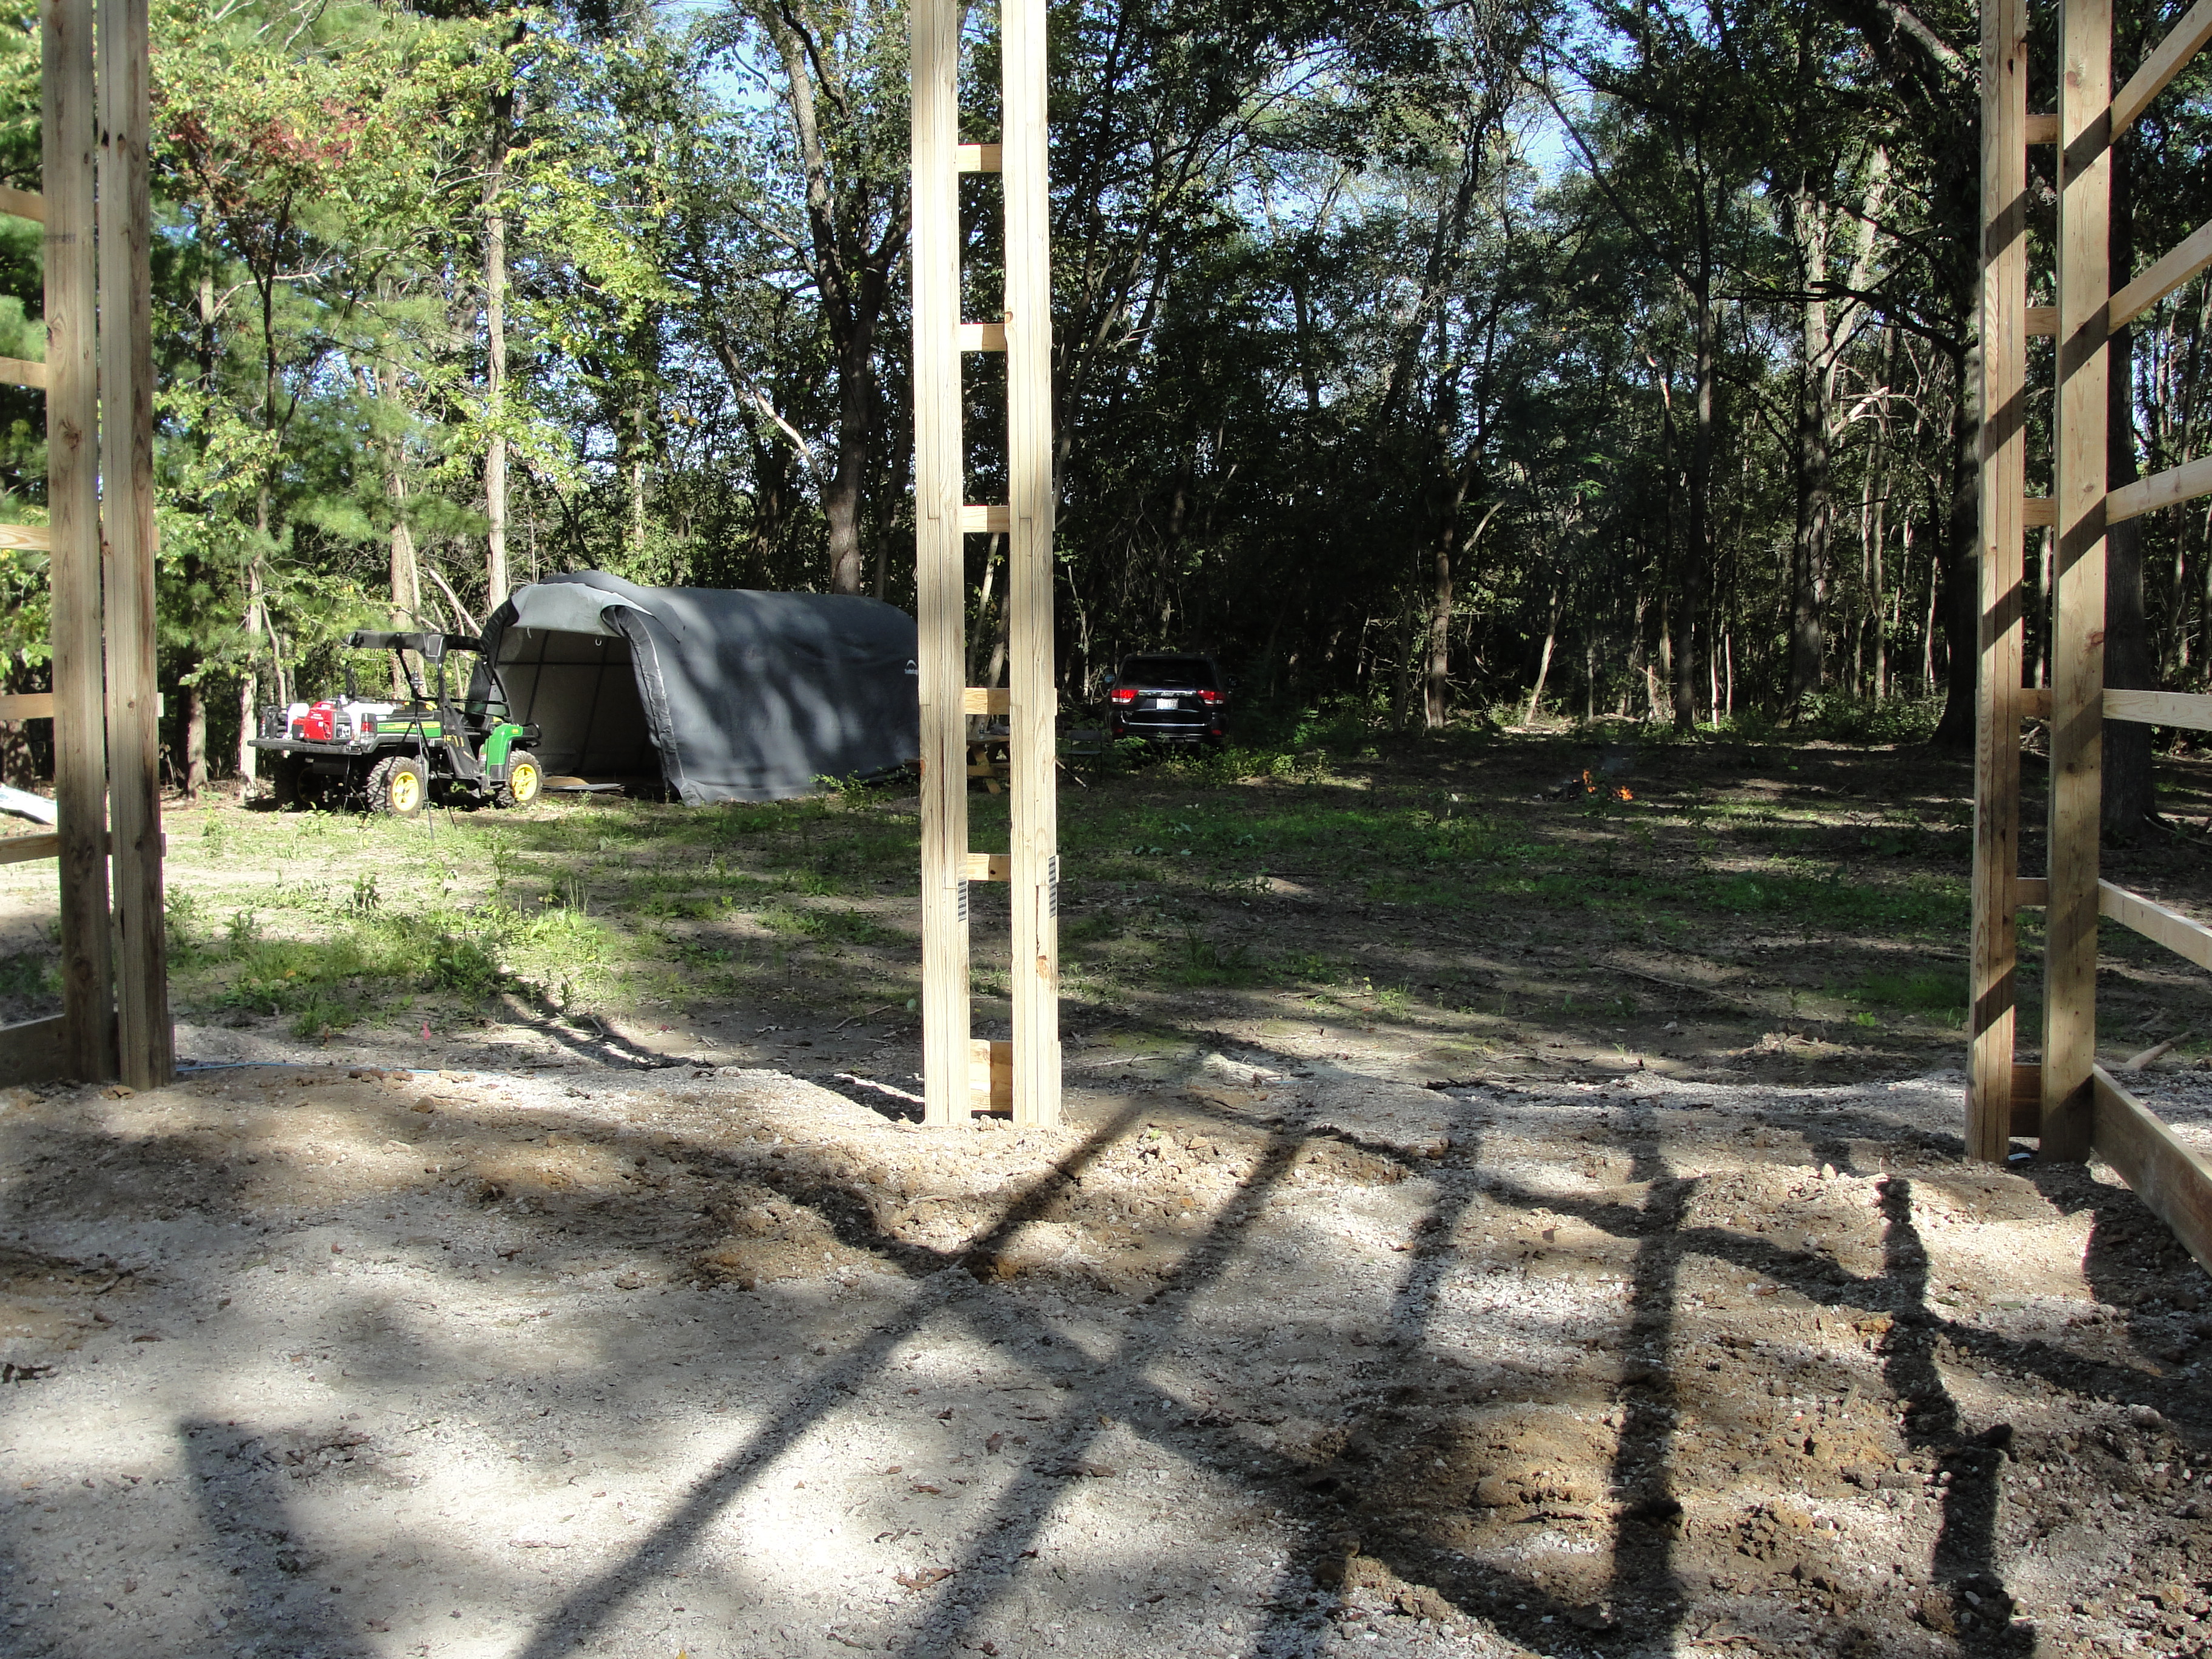
Pressure treated “poles” were placed in each hole, and then positioned by hand to be exactly the right distance apart, and exactly vertical and in line with the other poles. Dirt and gravel were hand-tamped around each pole to insure it stayed in place. This was merely a temporary expedient, because other systems (wood, steel, concrete) would come into play later to keep the poles positioned precisely.

With the poles in the right place, a 2×8 treated lumber “foot board” was attached to the poles, establishing a solid perimeter, to keep the mice out and the poured concrete floor in.

2×4″ “Girts” were attached to the upright poles, running parallel to the foot board. These provided stability to the poles, and also would be the structure on which the steel panels would hang.

As we were losing daylight, the crew finished up for the day. I was pleased with the progress, but it seemed to be taking longer than I had thought.
I was right, and there was a reason.