Early the next morning, the crew was back at work.
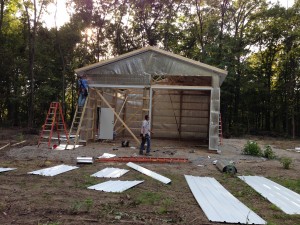
Roof trusses, which had been prebuilt, were raised and put into place. Once in place, 2×4 “purlins” were attached, running parallel to the girts.
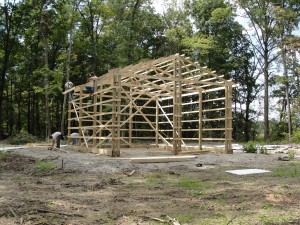
The purlins provided rigidity to the structure, and would be the attachment points for the steel roof panels.
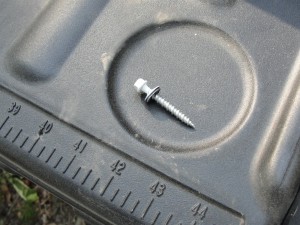
All the steel panels were attached to the purlins or girts with prepainted steel screws. Each screw had an attached neoprene washer. The washer was critical because without it, water would leak through the steel at each perforation point.
Before the steel panels were screwed into place, internal bracing and straps were used to make the entire structure perfectly “square.” If they didn’t do this, the steel panels (which are perfectly square) wouldn’t line up correctly.
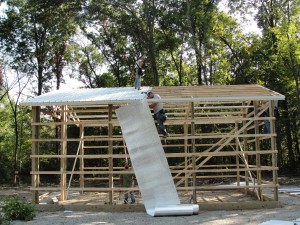
Also, before the steel panels were screwed into place, the crew laid insulation sheeting between the steel roof and the purlins.
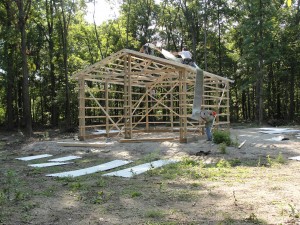
As an insulator, the mylar foam would do an excellent job of reflecting away thermal energy. During the hot southern Illinois summers, the interior temperature of the shed would be reasonably comfortable.
During the winter, the insulation would be less efficient at keeping the interior warm.
The mylar also served as a vapor shield. Humid air condenses on colder steel, creating a “roof drip.” The mylar would keep the condensation from entering the shed.
The reason things were going very slowly is because I had a very skilled and experienced foreman, accompanied by skilled, but inexperienced workmen. Everything moved at a snails pace.
After losing our light for the day, I positioned my car and the Gator with their engines running and headlights on, to illuminate the job site.
Eventually, they were done.
