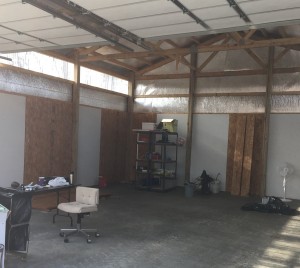
I had been advised to paint the OSB panels before attaching them to the walls. This made a great deal of sense, but failed to take into account the cold temperatures.
At 40 degrees, it took forever for the primer and then the paint to dry, and I only had room inside the shed for a limited number of panels on the floor. Eventually, I abandoned that strategy and just put up the panels without paint, figuring I could come back on another day and paint them as they hung.

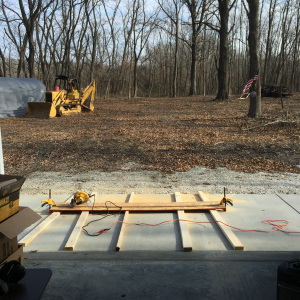
Another issue I discovered is that it’s not so easy to cut OSB panels to fit. I burned up one underpowered circular saw, before graduating to a heavy-duty circular saw.
I determined that the best way to cut the boards was to lay them on top of some 2×4’s, and then clamp a straight piece of scrap board precisely in the correct position to guide the circular saw down the board. Once everything was correctly aligned, with an adequately power saw, the process went smoothly enough. Getting to that point was time consuming and required constant attention to detail (measure, measure, measure).

One piece of excellent advice I received was to invest in an impact driver. With the wall board held in place, the impact driver would drive the screw through the wall board and into the 2×4 beneath it. As soon as the driver encountered significant resistance, a small hammer built into the driver would start hammering the screw at the same time it was screwing it in. It made screwing into hard materials easy, and I routinely would countersink the head of the screw just below the surface of the wood.

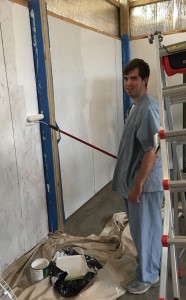
I finally got the panels up, and on a hot July day, brought one of my children to help paint the rest of the panels. Good job, I think.
I’m happy with how this all turned out, but it was a much bigger job than I had anticipated, requiring multiple trips to the woods, over many months before it was completed.
