Obtaining a Pap Smear
Position the patient · Pad the stirrups · Inspect the vulva · Warm and lubricate the speculum with warm water · Insert the speculum · Use the spatula · Sample the SQJ · Make a thin smear · Spray immediately · Use the brush for liquid media
Pap smears can be easily and painlessly obtained, in most cases, following this procedure:
|
Position the patient at the end of the table
Pad the stirrups
Inspect the vulva
Warm and lubricate the speculum
Spreading the labia, gently insert
the speculum
Rotate the spatula
Sample the transition zone

Transition zone in reproductive years
Transition zone during pregnancy
Transition zone in menopause
Use an endocervical brush

Make a thin smear
Spray with fixative immediately
A brush also works well

Use the brush for liquid-based Paps

Place the brush in the liquid media
|
Position the Patient
Position the patient with her buttocks just at the edge or just over the edge of the exam table. If she is not down far enough, inserting the speculum can be more difficult for you and uncomfortable for her.
Appropriate draping should be used to help make the patient more comfortable but not to the point that it obstructs your view. Good lighting is important and is often accomplished with a goose-neck lamp.
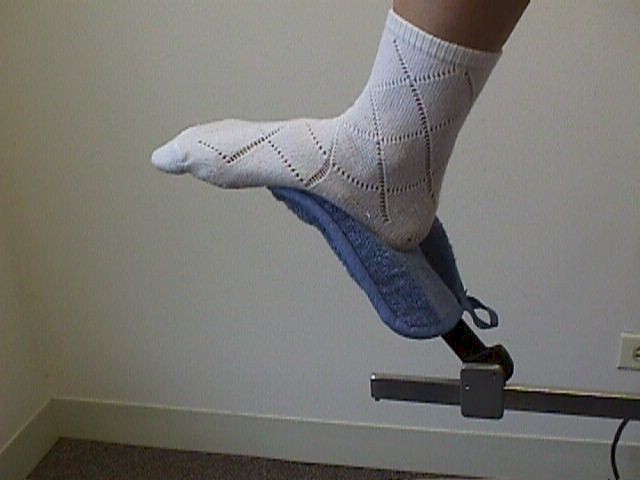
Pad the Stirrups
Pad the stirrups so that they don't dig into the patient's foot.
Oven mitts or socks can be used to cushion the stirrup. Allowing the patient to keep her socks on will provide additional padding and help keep the patient's feet warm during the exam.
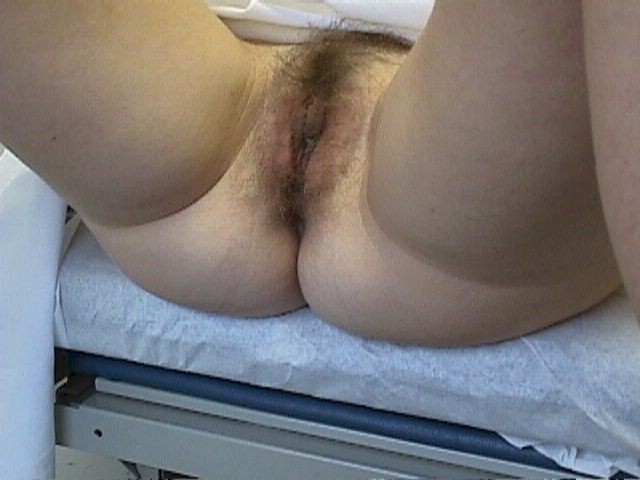
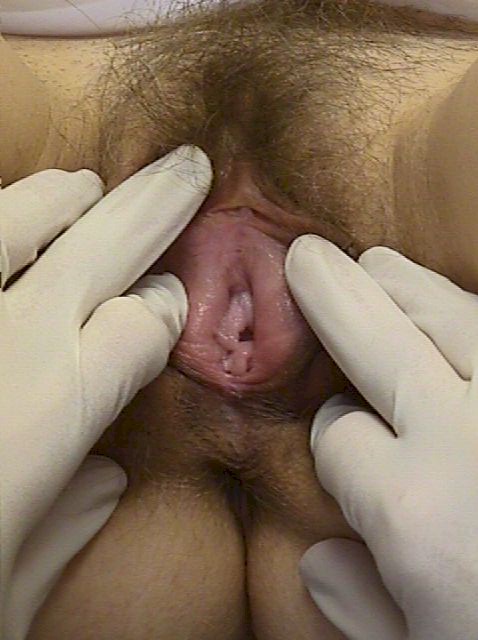
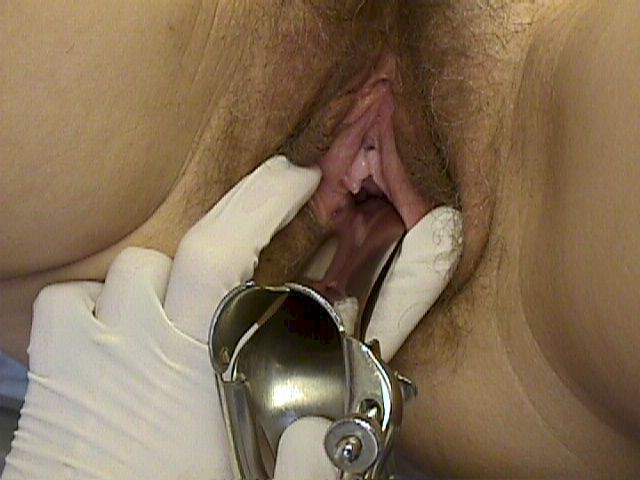
Inspect the Vulva
Gently spread the labia apart and inspect the vulva, looking for:
- Skin lesions
- Masses
- Drainage
- Discolorations of the skin
- Signs of trauma
- Pubic hair distribution (triangular = normal)
- Insect movement (pubic lice) within the pubic hair
Explain what you are doing to the patient to keep her relaxed.
You will need to move the labia and skin folds. Otherwise, you won't be able to see everything.
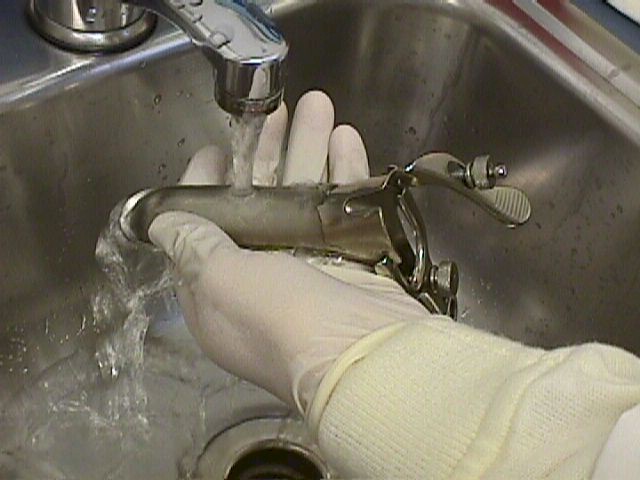
Warm the Speculum
Warm the vaginal speculum.
Running water works well for this as it also lubricates the speculum. Some health care providers use a heated drawer or heating pad to keep the speculums warm. Do not overheat as a speculum that is too hot is just as uncomfortable as one that is too cold.
Never use K-Y Jelly(r), Surgilube(r), petroleum jelly or other lubricant to moisten the speculum as it may render your Pap smears unreadable under the microscope.
Insert the Speculum
After warming the speculum, separate the labia and keep them apart.
Insert the speculum into the vagina, letting the speculum follow the path of least resistance. Some vaginas go straight back, parallel to the floor. Other vaginas tilt slightly downward toward the floor as the speculum advances. Others angle upward, away from the floor. Keep the speculum blades closed until the speculum is completely inserted.
Open the speculum and usually the cervix is immediately visible. If not, the cervix is usually just below the lower blade or just above the upper blade. Rocking the speculum downward and upward usually causes the hidden cervix to drop into view.
Lock the blades in the open position, wide enough apart to allow complete visualization of the cervix but not to far open as to be uncomfortable for the patient.
With practice, insertion of the speculum should be painless.
Start with the Spatula
The Ayer spatula is specially designed for obtaining Pap smears. The concave end (curving inward) fits against the cervix, while the convex end (curving outward) is used for scraping vaginal lesions or sampling the "vaginal pool," the collection of vaginal secretions just below the cervix.
The spatula is made of either wood or plastic. Both give very satisfactory results.
The concave end of the spatula is placed against the cervix and rotated in circular fashion so that the entire area around the cervical opening (os) is sampled.
Usually this can be done without causing any discomfort, although some women are sensitive to the sensation and may experience minor cramping. Sometimes, obtaining this sample causes some bleeding. In this case, reassure the patient that:
- although she may have some minor bleeding or spotting for a few hours, it is not dangerous,
- it will stop spontaneously and promptly
- it is caused by the Pap smear.
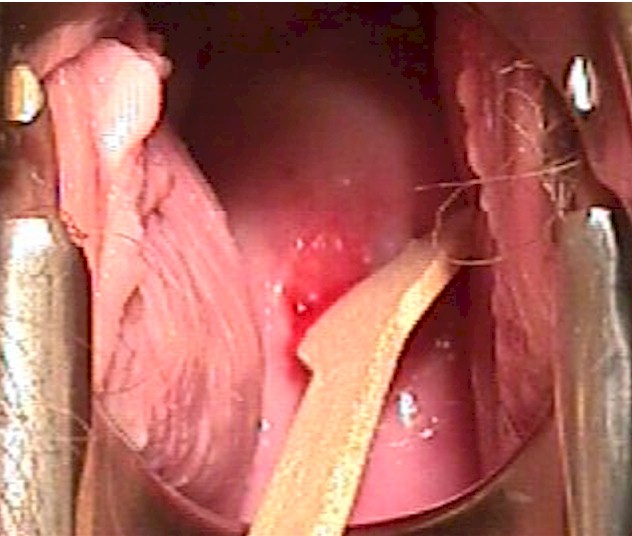
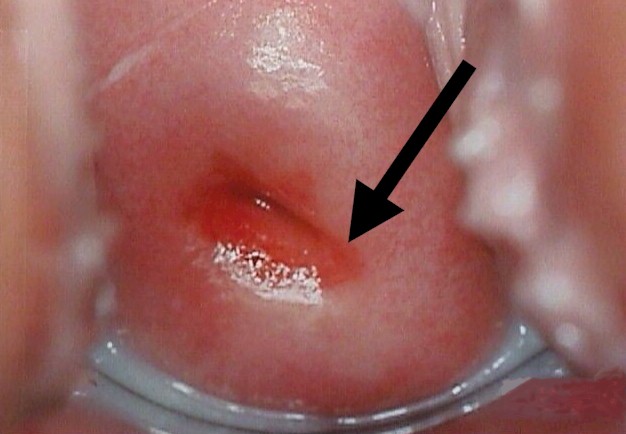
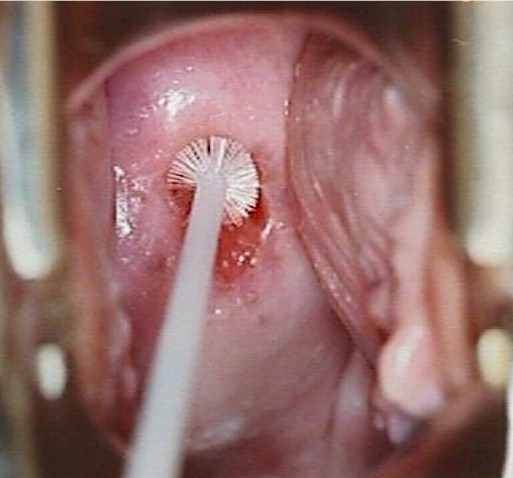
Sample the SQJ
In obtaining the Pap smear, it is important to sample the "Squamo-columnar Junction." This is the circular area right at the opening of the cervix where the pink, smooth skin of the cervix meets the fiery-red, fragile, mucous-producing lining of the cervical canal.
If there is a problem with cancer or precancerous changes, it is this area that is most likely to be effected. This area of unstable skin is also known as the transition zone.
The transition zone location varies with age and estrogen status.
Make a Thin Smear
Spread the sample taken from the cervix on a glass slide. Try to make the smear as thin as possible since this makes it easier for the pathologist to read. Make sure the slide is labeled (using pencil on the frosted end).
In your zeal to make a thin slide, don't spend too much time or else the slide will dry, making it harder to read.
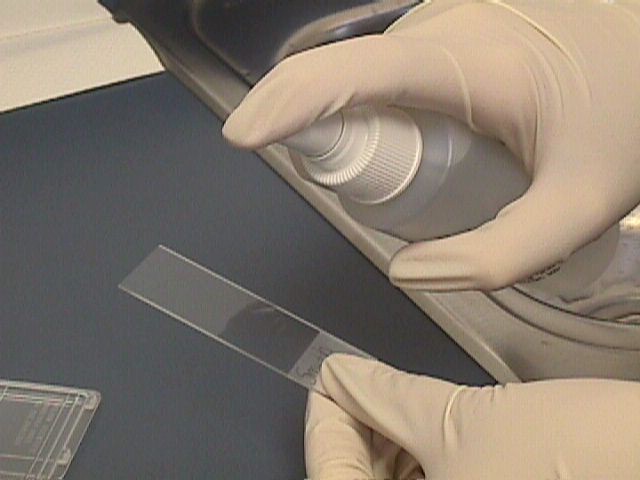
Spray Immediately
Immediately spray the glass slide with cytological fixative.
If the slide is not immediately sprayed (within about 10-15 seconds), the smear will dry out, making interpretation more difficult or impossible.
If cytological spray is unavailable, any material that has a significant amount of acetone in it can be a reasonably good substitute. Hair spray works well.
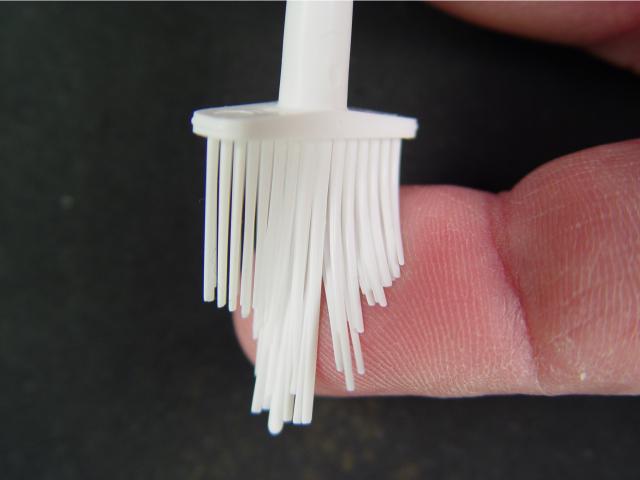
Next Use a Brush
Next, use a "Cytobrush" to sample the endocervical canal, the inside of the opening leading into the uterine cavity.
These soft brushes are designed to be inserted into the canal without causing damage.
Push the cytobrush into the canal, no deeper than the length of the brush (1.5 cm - 2.0 cm). Rotate the brush 180 degrees (half a circle) and pull the cytobrush straight out. Don't keep spinning the brush round and round or you will cause bleeding. Even the 180 degree rotation may cause a little bleeding but usually it doesn't.
Smear the sample on another slide, spreading the material evenly over the slide. Spray with fixative immediately.
Allow the slides to dry completely before placing them in the Pap smear container. Once dry and packaged, it is best to send them out promptly for interpretation.
Make sure the slides are properly labeled and that important clinical information is included with the requisition. Telling the cytologist that the patient has had a hysterectomy will save considerable amounts of time in evaluating the smear.
For women who have had a hysterectomy, Pap smears are obtained by using the convex end of the Ayer spatula, scraping it horizontally across the top of the vagina. Then the cytobrush is used to reach into the the right and left top corners of the vagina.
This outline of Pap smears describes a "two-slide" technique. Often, only a single glass slide is used (a "one-slide" technique). Using only a single slide, the Ayer spatula is smeared over one end of the slide and the cytobrush is smeared over the other end. It is fine if there is overlap between the two areas and it doesn't matter which smear is placed on which end of the slide.
Use a broom for liquid-based media
Liquid-based media offer some advantages over traditional glass slide media for Pap smears. They tend to be somewhat easier to read, somewhat more forgiving of contamination with red cells and white cells, and accuracy that is at least as good and probably better than traditional glass slide preparations. An additional advantage is the ease with which reflex HPV testing can be done in the event of an abnormal result.
The primary drawback to liquid-based media is the increased cost. Some gynecologists feel that it is superior technology and the added cost leads to better results. Others feel that the glass slide technique is good enough and added cost of liquid medium does not provide enough additional benefits to be justified.
Either approach works well.
After visualizing the cervix, insert the broom's long, central fibers into the endocervical canal. The rotate the broom in a complete circle, five times. Don't rotate backwards in the opposite direction as you may lose cells.
Follow the directions from the manufacturer of the liquid media collecting jar. For example, some ask that you immediately squish the broom against the bottom of the jar fifteen times, followed by several spins. Then remove the broom and seal the container securely.
Others provide for a snap-off broom and recommend that you send the sealed container with the broom head still inside.
The broom can also be used for conventional glass-slide Pap smears.
|