a. Take body substance isolation (BSI) precautions.
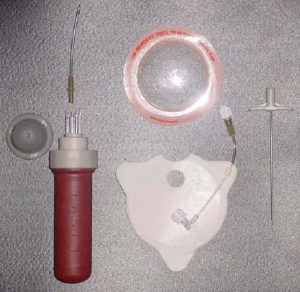
b. Assemble and arrange the necessary equipment (figure 1-15).
c. Explain the procedure to the casualty and ask about known allergies (if the casualty is conscious).
d. Prepare and inspect equipment.
e. Don gloves.
f. Locate the suprasternal notch.
g. Cleanse the site with antimicrobial solution.
h. Emplace the target patch using your index finger to ensure proper alignment with the casualty’s sternal notch (figure 1-16).
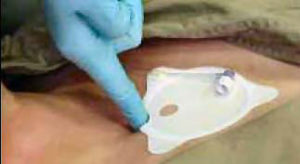
i. Recheck the location of the target patch.
j. With the target patch securely attached to the casualty’s skin, place the introducer (bone needle cluster) into the target zone of the target patch.
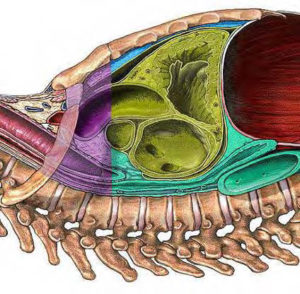
Maintain the perpendicular aspect of the introducer to the manubrium (upper portion of the sternum that articulates with the clavicles and first two pairs of ribs) (see figure 1-17).
k. Apply firm, increasing pressure along the axis of the introducer until a distinct release is felt and/or heard.
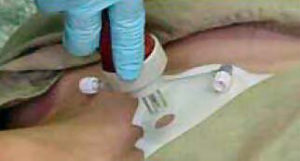
l. Gently remove the introducer by pulling straight back.
m. Flush the infusion tube with five milliliters of sterile saline.
n. Connect the infusion tube to the right angle connector on the target patch (figure 1-19).
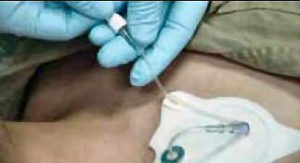
o. Open the flow-regulator clamp and allow the fluid to run freely for several seconds; then adjust to the desired flow rate.
p. Attach the remover device to the casualty.
q. Remove your gloves and dispose of them appropriately.
r. Document the procedure on the appropriate medical form.
