a. Step One.
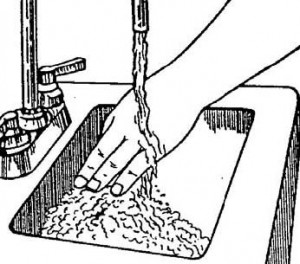
(1) Inspect hands, observing for visible dirt, breaks, or cuts in the skin and cuticles (figure 5-1).
(2) Determine contamination of hands.
(3) Assess areas around the sink that are contaminated or clean.
(4) Explain to the patient the importance of handwashing.

b. Step Two.
(1) Remove all jewelry (except plain wedding band) and push watch and long sleeves above wrists.
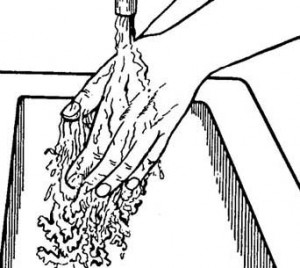
(2) Adjust water to right temperature and force (figure 5-2).

c. Step Three.
(1) Wet hands and wrists under the running water, always keeping hands lower than the elbows.
(2) Lather hands with liquid soap (about one teaspoon).
(3) Wash hands thoroughly using a firm circular motion and friction on back of hands, palms, and wrists. Wash each finger individually, paying special attention to areas between fingers and knuckles by interlacing fingers and thumbs, and moving fingers back and forth.
(4) Wash one minute, rinse thoroughly, relather, and wash another minute, using a continuous amount of friction.
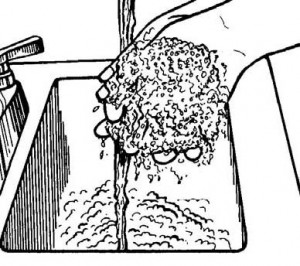
(5) Rinse wrists and hands completely, keeping hands lower than elbows (figure 5-3).

d. Step Four.
(1) Clean the fingernails carefully under running water, using fingernails of other hand or blunt end of an orange stick.
(2) Dry hands thoroughly with paper towels. Start by patting the fingertips, hands, and then wrists, and forearms.
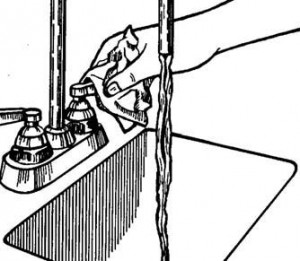
(3) Turn off faucets with a dry paper towel (figure 5-4).
(4) Use hand lotion if desired.
(5) Inspect hands and nails for cleanliness.

