Once the MAST has been positioned around the casualty’s legs and abdomen, it must be inflated to apply the desired pressure.
a. Connect Hoses.
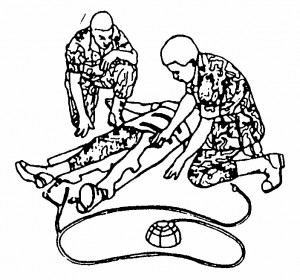
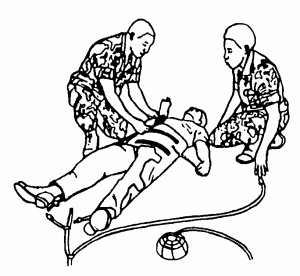
The foot pump has an air hose attached. The tube ends in a “Y” connector which has two other tubes attached, one short and the other longer. The shorter tube ends in another “Y” connector with two tubes attached. The tubes connected to the second “Y” are used to inflate the legs of the MAST. The longer tube from the first “Y” is used to inflate the abdominal section of the MAST. The foot pump and the hoses are shown in figures 7-4, 7-5, and 7-6.
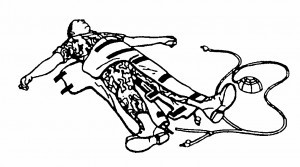
(1) Connect the end of one of the short tubes to the tube attached to one of the legs of the MAST (figure 7-7). Use a twisting motion when connecting the tubes.
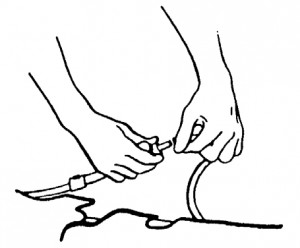
(2) Connect the end of the other short tube to the tube attached to the other leg of the MAST. Use a twisting motion when connecting the tubes. The air tubes will now look like figure 7-8.
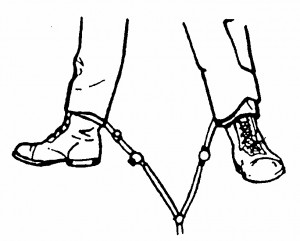
(3) Connect the remaining long tube to the tube attached to the abdominal section of the MAST. Use a twisting motion when connecting the tubes.
b. Open Stopcock Valves.
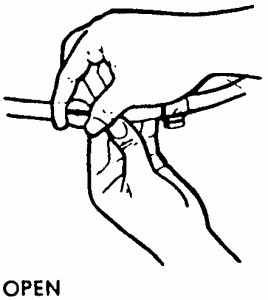
There are three stopcock (inflation/deflation) valve knobs on the MAST that control airflow. One stopcock valve knob is located on the tube attached to the right trouser leg and another is located on the tube attached to the left trouser leg. The third stopcock valve knob is located on the tube attached to the abdominal section. Normally, all three knobs will be in the closed (no airflow) position. Turn the stopcock valve knobs on all tubes to the open position (figure 7-9).
c. Check Blood Pressure.
Check the casualty’s blood pressure again before inflating the MAST.
d. Inflate the Medical Anti-Shock Trousers.
If the MAST are used for the above indicated uses, all three compartments should be inflated until the Velcro closures begin to break away (a crackling sound should be heard). At this time, the patient should be monitored for response.
e. Close Stopcock Valve Knobs.
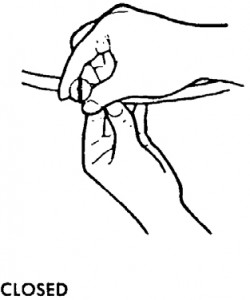
Turn the stopcock valve knobs on the tubes to the closed position (figure 7-10). The pressure exerted by the MAST will remain equal and constant.
