Suturing
Suturing or sewing during surgery usually serves one of two
purposes:
-
It securely closes blood vessels that otherwise might bleed.
-
It brings together tissues that you want to stay together. For
example, following a cesarean section, you will want to suture together the
cut edges of the uterus. This will promote healing that is both prompt and
anatomically correct.
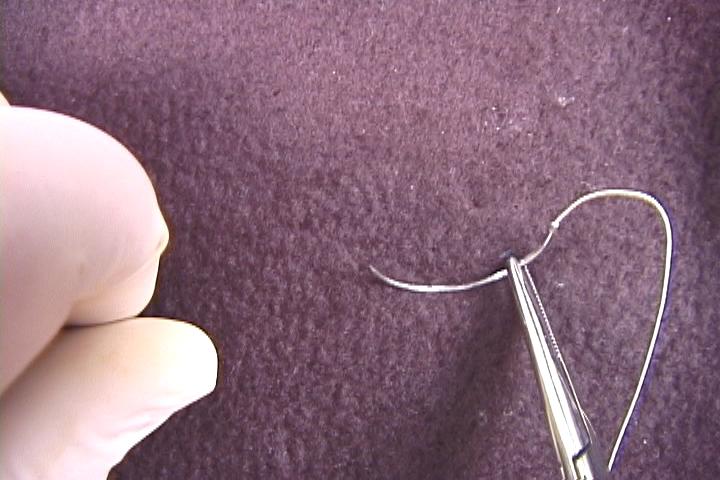
Most
suturing is done using curved surgical needles and a "needle holder" or "needle
driver." Normally, the needle is grasped with the needle driver at a right angle
to the needle, approximately half-way to two-thirds of the way back from the
tip. In special situations, you may want to grip the needle a little closer to
the tip, and sometimes you will want to angle the needle a small amount. Don't
angle it too much or the needle holder may lose it's grip on the needle.
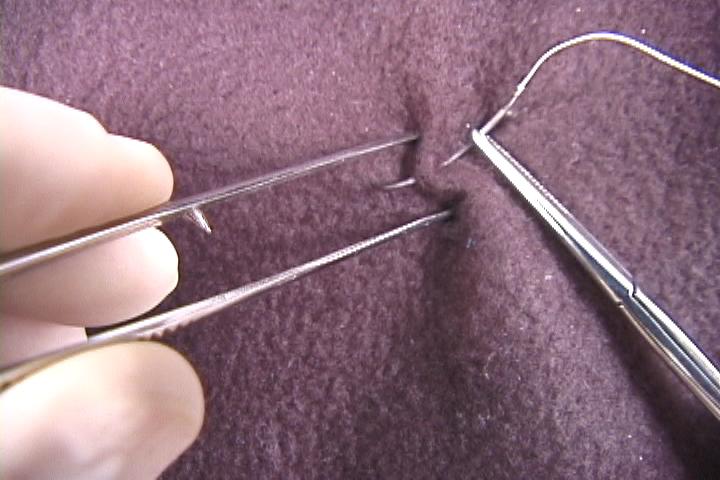
Typically,
you will employ tissue forceps to support or grasp the material you are trying
to sew. Ideally, you would use the tissue forceps to support the tissue while
you drive the needle through the supported tissue. This is the least traumatic
way of sewing. In many or most surgical situation (particularly deep in the
pelvis), it is not possible to effectively sew in this way and you must grasp
the tissue with the tissue forceps before driving the needle through the tissue.
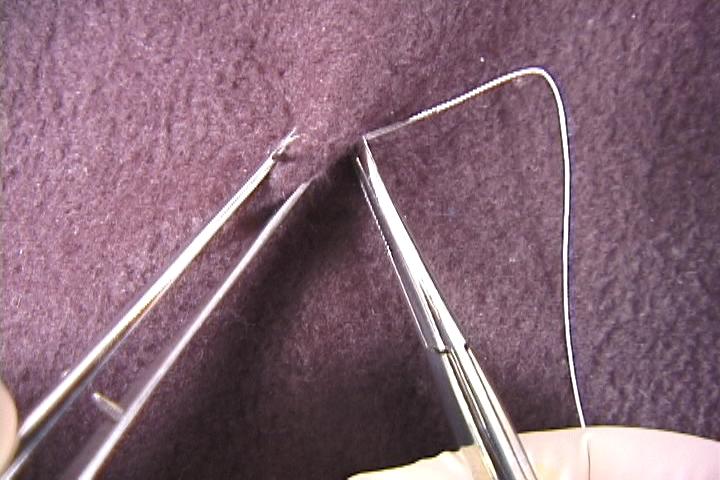
After driving the needle through the tissue you wish to sew,
push it through or pull it through, following the curve of the needle. Watch
this video show a variety of suturing situations.
Several important tips to keep in mind are:
-
Don't crush the tissue with the tissue forceps. Crushing
injures the tissue and impairs healing.
-
Follow the curve of the needle.
-
Smaller "bites" tend to give more precise approximation of
tissues; larger bites tend to have more strength.
-
When closing incisions, try to match the placement of the
needle on one side with the placement of the needle on the other side. Take
similar sized bites, and similar placement of the needle.
-
Don't lift the tissue with the needle. It is not good for
the tissue and risks breaking the needle tip off.
-
If the needle bends, stop sewing, tie the suture, and get a
new needle. Needles that have been bent back into position are weaker and
more prone to breakage.
|